How to deploy your Website to GitHub Pages using GitHub Actions

Step 1: Organize Files
Place your HTML file, CSS file, and assets/js in a dedicated folder. Let's call it website.
The folder structure should look something like this.
  ├── .github/workflows/deploy.yml     # we'll talk about this later
  ├── /Website/                        # All your website stuff
        ├── HTML
        ├── CSS
        ├── Js
        ├── /Other Assets/
  ├── Readme.md                        # optional - not necessary
Step 2: Understanding GitHub Actions
GitHub Actions is a powerful automation and continuous integration (CI) tool seamlessly integrated into the GitHub platform.
Utilizing declarative YAML configurations, GitHub Actions allows developers to define workflows—automated processes triggered by various events such as code pushes or pull requests.
These workflows consist of jobs and steps, where each step represents a task, such as building, testing, or deploying code.
Check out this video to understand it better:
Step 3: Create GitHub Action Workflow
Create a new folder named .github/workflows in the root of your repository, and inside it, create a file named deploy.yaml. This YAML file will define your GitHub Actions workflow.
name: Deploy to GitHub Pages

on:
  push:
    branches:
      - master # change to your main branch

jobs:
  deploy:
    runs-on: ubuntu-latest
    permissions:
      contents: write
    concurrency:
      group: ${{ github.workflow }}-${{ github.ref }}

    steps:
      - name: Checkout Repository
        uses: actions/checkout@v2
        with:
          ref: master   # again change with your main branch

      - name: Init new repo in website folder and commit generated files
        run: |
          cd ./Website
          git init
          git add .
          git config --local user.email "bhattacharyasaptarshi2001@gmail.com"
          git config --local user.name "Saptarshi"
          git commit -m 'deploy'

      - name: Add safe.directory exception
        run: git config --global --add safe.directory /github/workspace/Website

      - name: Force push to destination branch
        uses: ad-m/github-push-action@master
        with:
          github_token: ${{ secrets.GITHUB_TOKEN }}
          branch: gh-pages
          force: true
          directory: ./Website
Let's understand each part and what it does.
Workflow Name and Trigger:
name: Deploy to GitHub Pages

on:
  push:
    branches:
      - master # Change to your main branch
name:: Defines the name of the GitHub Actions workflow. In this case, it's named "Deploy to GitHub Pages."on:: Specifies the events that trigger the workflow. Here, the workflow runs on every push to the specified branches, in this case, themasterbranch.
Job Configuration:
jobs:
  deploy:
    runs-on: ubuntu-latest
    permissions:
      contents: write
    concurrency:
      group: ${{ github.workflow }}-${{ github.ref }}
runs-on:: Specifies the GitHub-hosted runner environment for the job. Here, it's set to run on the latest version of Ubuntu.permissions:: Grants write permissions to the contents of the repository for this job.concurrency:: Helps manage concurrent workflow runs by grouping them based on the workflow name and branch. This can prevent race conditions when deploying.
Steps:
steps:
  - name: Checkout Repository
    uses: actions/checkout@v2
    with:
      ref: master   # Change with your main branch
actions/checkout@v2:: Action that checks out the repository at the specifiedref(branch). In this case, it's checking out themasterbranch.
    - name: Init new repo in the website folder and commit generated files
    run: |
      cd ./Website
      git init
      git add .
      git config --local user.email "bhattacharyasaptarshi2001@gmail.com"
      git config --local user.name "Saptarshi"
      git commit -m 'deploy'
run:: Executes a series of shell commands.cd ./Website:: Changes the working directory to the./Websitefolder.git init:: Initializes a new Git repository.git add .:: Adds all files in the current directory to the staging area.git config:: Sets local Git configurations for the user's email and name.git commit:: Commits the changes with the message 'deploy.'
    - name: Add safe.directory exception
    run: git config --global --add safe.directory /github/workspace/Website
git config --global --addsafe.directory/github/workspace/Website:: Adds an exception for thesafe.directoryconfiguration globally to include the./Websitefolder.
    - name: Force push to the destination branch
    uses: ad-m/github-push-action@master
    with:
      github_token: ${{ secrets.GITHUB_TOKEN }}
      branch: gh-pages
      force: true
      directory: ./Website
ad-m/github-push-action@master:: Utilizes the GitHub Push Action to force push changes to a specified branch.github_token:: Uses the repository's GitHub token stored in secrets for authentication.branch: gh-pages:: Specifies the branch to which the changes will be forcefully pushed.force: true:: Enables force pushing, and overwriting existing history on thegh-pagesbranch.directory: ./Website:: Specifies the directory from which to push the changes.
Step 4: Create gh-pages Branch
Create a new branch named gh-pages. GitHub automatically detects this branch and deploys its content to GitHub Pages. You can create the Branch for the GitHub Repository from the website You can also manually set it in the repository settings
The commands are:
git checkout -b gh-pages
git push origin gh-pages
Go to https://github.com/sbk2k1/<repository_name>/settings/pages
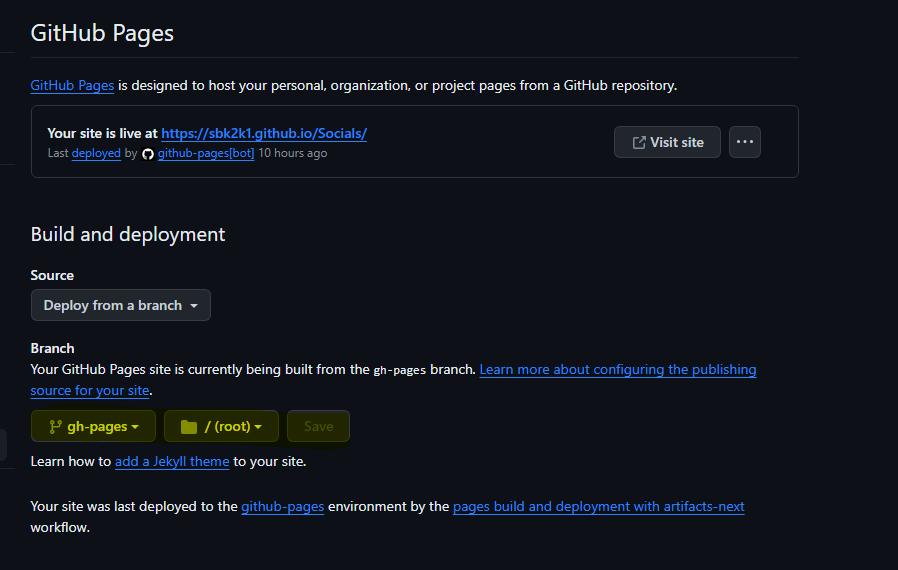
And you can manually configure it as well
Step 5: Set GitHub Token
In your repository settings, go to "Settings" > "Actions" > "General". Scroll down to the "Workflow permissions" section and select the Read and Write permissions options. Save it.
Step 6: Remove Custom Domain CNAME (Optional)
If you want to remove a custom domain from your GitHub Pages site (assuming you previously set it up and don't want it anymore), go to the URL below
https://github.com/USERNAME/USERNAME.github.io/blob/master/CNAME
And remove the CNAME inside the file.
Now, commit and push these changes, and your GitHub Actions workflow will automatically deploy your static page to GitHub Pages on the gh-pages branch!
Repository with the code and setup: https://github.com/High-on-Bugs/Deploy-Wesbite-using-Actions-and-Pages
GitHub Issue discussing expired domain problem: https://github.com/isaacs/github/issues/1213
If you still have any questions/queries you can reach out to me on my LinkedIn / GitHub / Twitter.
Cheers!